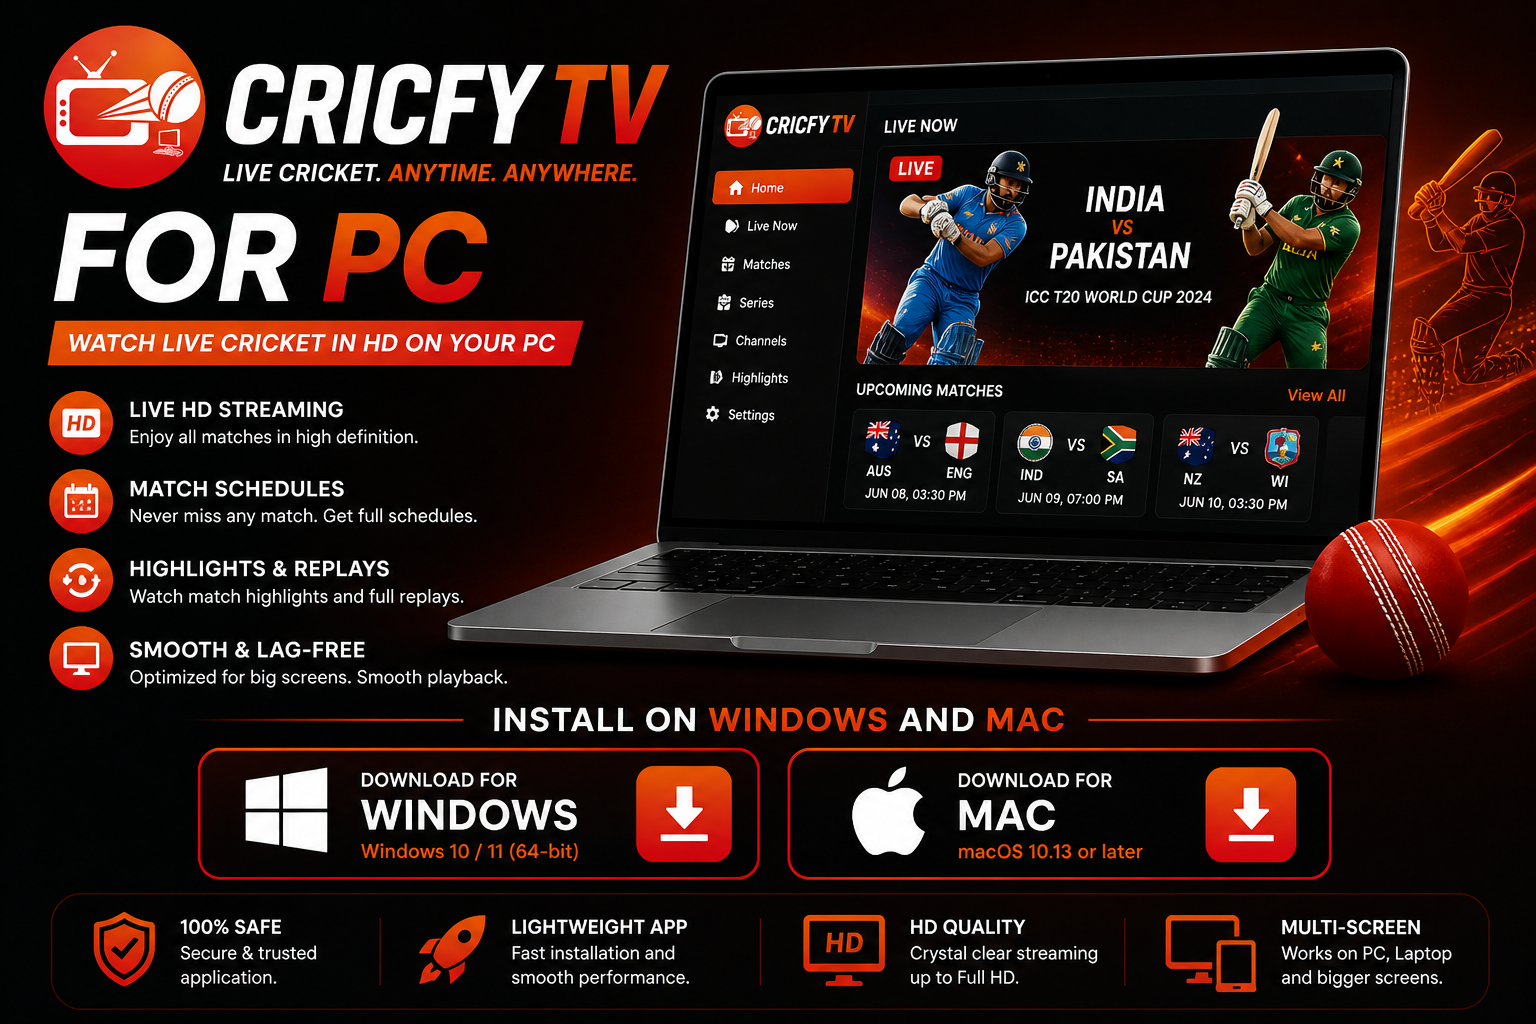
Cricfy TV for PC — Install on Windows and Mac
Watch live cricket on your computer screen with these tested Cricfy TV methods. Cricfy TV is Android-only, but BlueStacks, LDPlayer, Windows Subsystem for Android, and screen mirroring all give you a reliable PC streaming setup in 5–15 minutes.
Running Cricfy TV on PC — the popular cricket streaming app — has clear advantages over mobile — a larger screen, better audio through desktop speakers, the ability to multitask (following ball-by-ball stats on one side, watching the stream on the other), and no phone battery drain during a full day of Test cricket. Cricfy TV is Android-only, so a short setup is needed, but once configured it works as reliably as a native Windows application.
This guide covers every working method to run Cricfy TV on PC in 2026 — from the straightforward BlueStacks emulator approach to the higher-performance Windows Subsystem for Android option for Windows 11 users and a dedicated macOS section. Choose the method that matches your hardware and technical comfort level.
Why Watch Cricfy TV on PC?
Beyond the obvious screen size advantage, PC streaming through Cricfy TV offers several practical benefits over mobile:
- Multitasking: Position the stream in a corner window while working, checking ESPNcricinfo stats, or messaging. Something mobile cannot replicate easily.
- Better audio: Desktop or external speakers deliver significantly better sound quality than phone speakers for commentary and crowd atmosphere.
- No battery drain: A full day of Test cricket — six hours of streaming — drains most phone batteries twice. PC streaming is worry-free.
- External display options: Connect a second monitor and dedicate it entirely to the match while your main screen stays on work.
- Stable network connection: Most PCs can use a wired ethernet connection, which eliminates the Wi-Fi variability that causes mobile buffering.
Method 1 — BlueStacks Android Emulator (Recommended)
BlueStacks is the most widely used Android emulator for Windows and Mac. It creates a full Android environment on your computer, letting you install and run the Cricfy TV APK exactly as you would on a physical Android phone. It is the recommended starting point for most users due to its simplicity and excellent documentation.
Step-by-step: Install Cricfy TV on PC with BlueStacks
- Download BlueStacks 5: Go to bluestacks.com and download the latest version (free). Avoid third-party download sites — only use the official URL. The installer is approximately 500 MB.
- Install BlueStacks: Run the downloaded installer and follow the on-screen prompts. Installation takes 5–10 minutes and requires 5–8 GB of free disk space. If BlueStacks prompts you about hardware virtualization (VT-x for Intel CPUs, AMD-V for AMD CPUs), enable it in your BIOS — this significantly improves performance.
- Download the Cricfy TV APK: Download Cricfy TV APK v6.6 from our verified APK download page. Save the file to your Desktop or Downloads folder. The APK is approximately 22 MB.
- Install the APK in BlueStacks: Drag the downloaded Cricfy TV APK file from your folder directly into the BlueStacks window. BlueStacks detects it automatically and shows an installation prompt. Click Install. This takes 5–10 seconds.
- Configure emulator settings: In BlueStacks settings → Performance, set RAM to at least 4 GB and CPU cores to 4. Set display resolution to 1280×720 for the best balance of quality and system load during streaming.
- Launch and watch: Click the Cricfy TV icon in the BlueStacks home screen. Navigate to the Live tab, select a match, and choose your stream quality. Use ethernet over Wi-Fi for the most stable stream.
Method 2 — LDPlayer 9 (Better for Older PCs)
LDPlayer is a lighter Android emulator than BlueStacks for running Cricfy TV — it uses less RAM and CPU at idle, making it the better choice for computers with 4–6 GB RAM or older processors. The installation process is identical: download, install, drag-and-drop the Cricfy TV APK, and launch.
LDPlayer vs BlueStacks for Cricfy TV
- RAM usage: LDPlayer typically uses 1.2–1.5 GB; BlueStacks uses 1.8–2.2 GB at idle.
- Setup speed: LDPlayer installs faster (~8 min) as the installer package is smaller.
- macOS support: LDPlayer is Windows-only. Mac users must use BlueStacks or MEmu.
- APK install method: Identical to BlueStacks — drag-and-drop or use the built-in APK installer.
Download LDPlayer from ldplayer.net (official site only). The setup steps for installing Cricfy TV are the same as the BlueStacks guide above.
Method 3 — Windows Subsystem for Android (Windows 11 Only)
Windows Subsystem for Android (WSA) is built into Windows 11 and runs Android apps at the OS level rather than inside a separate virtualisation layer. This delivers better streaming performance and lower CPU overhead than BlueStacks or LDPlayer. However, setup is more technical — it requires enabling Developer Mode and using ADB command-line tools to sideload the APK.
WSA setup summary
- Enable Developer Mode: Settings → Privacy and Security → Developer Mode → On.
- Install WSA: Search for "Windows Subsystem for Android" in the Microsoft Store and install it. If it is not available in your region, a community-patched installer (WSABuilds) exists but is outside scope here.
- Enable Developer Mode in WSA: Launch WSA settings from the Start menu and toggle Developer Mode on. Note the ADB IP address shown (usually 127.0.0.1:58526).
- Connect via ADB: Open Command Prompt and run:
adb connect 127.0.0.1:58526 - Install the APK: Run:
adb install C:\path\to\cricfy-tv-6.6.apk— replacing the path with your actual APK location. - Launch: Cricfy TV appears in your Windows Start menu as a regular app. It opens in its own window and integrates with Windows snap layouts.
Method 4 — Install Cricfy TV on Mac
BlueStacks 5 has a native macOS version that works on both Intel Macs and Apple Silicon (M1, M2, M3, M4) Macs. On Apple Silicon, BlueStacks runs natively rather than under Rosetta 2 translation, giving good performance for streaming.
Mac-specific notes
- BlueStacks for Mac: Download from bluestacks.com → choose the macOS download. The install process is identical to Windows.
- MEmu Play: Also supports Cricfy TV on macOS as an alternative if BlueStacks causes issues.
- Apple Silicon performance: On M-series Macs, BlueStacks streams Cricfy TV at 720p–1080p with low CPU impact — typically 10–15% on M2 during active streaming.
- macOS Gatekeeper: When opening BlueStacks for the first time, macOS may show a security warning. Go to System Preferences → Security and Privacy → "Open Anyway" to proceed.
LDPlayer and MEmu are not available for macOS. WSA is Windows 11 only. BlueStacks is the primary reliable option for Mac users.
Method 5 — Screen Mirroring from Phone (No Install Needed)
If you already have Cricfy TV running on your Android phone, you can mirror it to your PC screen without installing any emulator. This avoids the emulator overhead entirely and uses your phone's existing APK installation.
- Scrcpy — Free, open-source, extremely low latency over USB. Best for stream quality. Requires Android Debug Bridge (ADB) to be enabled on your phone. Available for Windows and macOS.
- Vysor — More polished UI, supports both USB and wireless mirroring. Free version has watermark; paid version removes it. Works on Windows, Mac, and Linux.
- Windows built-in Connect app (Wireless Display): If your phone supports Miracast, you can mirror wirelessly via the Windows Connect app with no extra software. Latency is higher than USB methods.
Screen mirroring is the fastest path to watch Cricfy TV on a larger screen immediately without waiting for an emulator download.
Emulator Comparison — Which to Choose
| Emulator | OS Support | RAM Usage | Difficulty | Best For |
|---|---|---|---|---|
| BlueStacks 5 Recommended | Windows 10/11, macOS | ~1.8–2.2 GB idle | Easy | Most users — best documentation |
| LDPlayer 9 | Windows 10/11 only | ~1.2–1.5 GB idle | Easy | Older PCs, 4–6 GB RAM machines |
| MEmu Play | Windows 10/11, macOS | ~1.5 GB idle | Easy | Alternative if BlueStacks has issues |
| WSA (Win 11 only) | Windows 11 only | ~0.8 GB idle | Moderate | Best performance, tech-savvy users |
| Scrcpy / Vysor | Windows, macOS, Linux | Near zero | Easy | Already have phone with app installed |
System Requirements for Cricfy TV on PC
The table below covers minimum and recommended specs for each method. Using a machine below minimum specs will result in buffering regardless of internet speed:
| Spec | Minimum (BlueStacks/LDPlayer) | Recommended | WSA (Windows 11) |
|---|---|---|---|
| RAM | 4 GB total | 8 GB total | 8 GB total |
| CPU | Dual-core, 1.8 GHz | Quad-core, 2.5+ GHz | Any Win 11 compatible CPU |
| Storage (free) | 5 GB | 10 GB SSD | 10 GB |
| GPU | Any with DirectX 11 | Dedicated GPU | Any DirectX 12 |
| OS | Windows 10 / macOS 11 | Windows 11 / macOS 12+ | Windows 11 22H2+ |
| Virtualization | VT-x / AMD-V (BIOS) | Enabled in BIOS | Hyper-V enabled |
| Internet | 5 Mbps (720p) | 10+ Mbps (1080p) | 10+ Mbps (1080p) |
Performance Optimisation Tips for PC Streaming
Getting smooth, buffer-free Cricfy TV streams on a PC emulator requires tuning both the emulator and your network setup. These tips make the biggest difference:
Emulator settings
- Allocate 4 GB RAM: In BlueStacks settings → Performance, drag the RAM slider to 4096 MB. This is the single biggest improvement for streaming stability.
- Set 4 CPU cores: Allocate at least 4 CPU cores to the emulator. Live streaming decodes video in real time — more cores means fewer dropped frames.
- Set resolution to 1280×720: Running the emulator at 1080p when streaming 720p wastes GPU resources. Match the emulator resolution to your typical stream quality.
- Enable hardware acceleration: In BlueStacks → Graphics settings → ensure "Hardware-accelerated graphics" is selected, not Software rendering.
- Enable virtualization in BIOS: If you have not already — enter BIOS (usually F2 or Del at startup) and enable Intel VT-x or AMD-V. This unlocks the full performance of the emulator.
Network optimisation
- Use ethernet: A wired connection eliminates the packet loss that causes Cricfy TV buffering on Wi-Fi. This is the most impactful network change you can make.
- Close background downloads: Pause any active downloads (Windows Update, cloud sync, other downloads) before a match. Background bandwidth usage directly causes buffering.
- Switch stream links: If a stream buffers, switch to Link 2 or Link 3 in Cricfy TV's player — different links use different CDN servers with varying load levels.
- Try 480p if 720p buffers: On a 5–8 Mbps connection, 720p may be unreliable during peak IPL demand. Dropping to 480p gives a completely stable stream with barely noticeable quality difference on a PC monitor.
For Cricfy TV issues after installation — crashes, buffering, black screens — visit our Cricfy TV troubleshooting hub. To watch live cricket without any installation, see our live cricket streaming guide for browser-based options.
Frequently Asked Questions — Cricfy TV for PC
Which emulator is best for Cricfy TV on PC?
BlueStacks 5 is the best choice for most users — beginner-friendly, well-documented, and works on both Windows and macOS. LDPlayer 9 is better for older computers with 4–6 GB RAM as it runs lighter. For the best performance overall on Windows 11, Windows Subsystem for Android (WSA) is technically superior but requires more setup.
Can I run Cricfy TV on a Mac?
Yes. BlueStacks 5 has a native macOS version that works on Intel and Apple Silicon Macs (M1, M2, M3, M4). On M-series Macs, it runs natively and delivers smooth 720p–1080p streaming. LDPlayer and WSA are Windows-only. Download BlueStacks from bluestacks.com (official site) — then follow the same APK install steps as Windows.
How much RAM do I need to run Cricfy TV for PC?
Minimum 4 GB total system RAM (allocate 2 GB to the emulator). Recommended is 8 GB (allocate 4 GB to the emulator) for smooth 720p streaming. For 1080p streaming without stuttering, 8–16 GB system RAM is ideal. If streaming is choppy, increasing emulator RAM allocation in settings is almost always the fix.
Is there a native Cricfy TV app for Windows?
No. There is no native Windows or macOS application for Cricfy TV. The app is Android-only, which is why an emulator (BlueStacks, LDPlayer) or Windows Subsystem for Android is required. Microsoft removed the Android app capability from the Windows Store in 2024, so WSA setup requires a third-party build for some regions.
Why is Cricfy TV buffering in BlueStacks?
Emulator buffering is almost always RAM or CPU-related. Fix it by: (1) increasing emulator RAM to 4 GB in BlueStacks settings → Performance, (2) allocating 4+ CPU cores, (3) switching from Wi-Fi to an ethernet cable, (4) reducing stream quality to 480p or 720p, and (5) closing other browser tabs and applications. Hardware virtualization in BIOS also significantly improves performance.
Can I use WSA (Windows Subsystem for Android) for Cricfy TV?
Yes, on Windows 11. WSA delivers better streaming performance than BlueStacks because it integrates at the OS level rather than running a full virtualisation layer. Setup requires enabling Developer Mode, installing WSA from the Microsoft Store, and sideloading the Cricfy TV APK using ADB commands. Total setup time is about 20 minutes. See our WSA section above for the step-by-step process.